Plug the mic into the right port, pick the correct device in settings, and test the sound.
I’ve helped podcasters, teachers, and streamers get clean audio for years. This guide shows how to connect a microphone to a computer step by step, with clear options for USB, 3.5mm, XLR with an interface, and wireless mics. Read on to learn easy setup steps, common pitfalls, and tips I use in real projects to get great sound fast.

Why proper microphone connection matters
Good audio starts with a proper connection. Whether you record voice, stream live, or join video calls, a correct setup avoids noise, low volume, and delays. Knowing how to connect a microphone to a computer saves time and improves clarity.
Clear audio helps listeners focus. A bad connection makes speech hard to hear and wastes editing time. I have seen simple connector mistakes ruin an otherwise great recording. Fixing the connection first is faster than trying to fix audio later.

Source: youtube.com
Types of microphones and common connectors
Choose the right mic type for your needs. Each type connects to a computer differently and has pros and cons.
USB microphones
- Plug directly into a USB port. Easy and often plug-and-play.
- Good for podcasts, streaming, and simple voice work.
3.5mm analog microphones
- Use the headset/mic jack on many laptops and desktops.
- Cheap and simple, but less robust than other options.
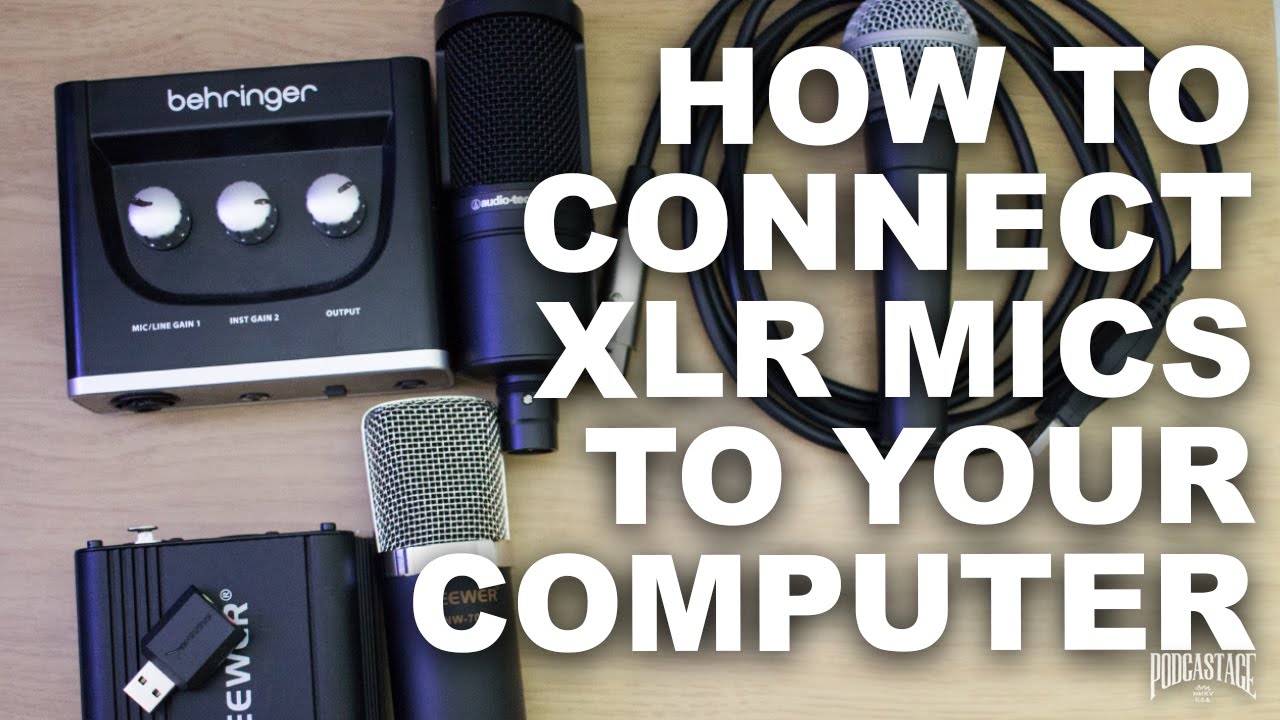
XLR microphones
- Professional mics use XLR cables and need an audio interface or mixer.
- Offer higher sound quality and lower noise.
Wireless and smartphone mics
- Connect via USB receiver, Bluetooth, or adapters.
- Great for mobility; may require pairing and battery checks.
Knowing these types helps you decide how to connect a microphone to a computer. I prefer XLR with an interface for studio work, and USB for quick setups.

Source: phenyxpro.com
What you need before you start
Prepare tools and parts to make the setup painless. Check these items before you try to connect a microphone to a computer.
- Microphone with cables or receiver
- Correct cable type: USB, 3.5mm TRS/TRRS, or XLR
- Audio interface or adapter for XLR mics
- Phantom power if using a condenser XLR mic (usually +48V)
- Computer with an available USB or audio input
- Updated drivers and recording software
- Headphones for monitoring
I once tried to record a webinar without checking phantom power. The mic was dead until I enabled +48V. That delay taught me to check power and drivers first.

Source: youtube.com
Step-by-step: how to connect a microphone to a computer
Below are clear steps for common mic types. Follow the path that matches your microphone.
USB microphone setup
- Plug the USB cable from the microphone into an open USB port on the computer.
- Wait for the computer to install drivers automatically or install the manufacturer’s driver if prompted.
- Open sound settings and select the USB mic as the input device.
- Test by speaking and watching input levels in your app or system.
USB mics are the easiest way to learn how to connect a microphone to a computer. I often use a USB mic for live streams because setup is fast.
3.5mm analog microphone setup
- Find the mic input jack on your computer. Laptops may use a single combo jack (TRRS) or separate jacks for mic and headphones.
- Plug the 3.5mm cable into the correct mic jack. Use a TRS-to-TRRS adapter if needed for headsets.
- Open sound settings and choose the mic input. Adjust gain or levels.
- Test with recording software or a voice call.
Many laptops mix mic and headphone jacks. If the sound is low, check for a combo jack issue and use the right adapter.
XLR microphone with an audio interface
- Connect the XLR cable from the microphone to the audio interface input.
- Plug the interface into the computer using USB, Thunderbolt, or FireWire.
- Turn on phantom power (+48V) if you use a condenser mic.
- Open your computer’s sound settings and select the audio interface as the input device.
- Set input gain on the interface and test levels in your recording app.
For studio work, I use an XLR with an interface. It took time to learn gain staging. Start low and raise the gain slowly to avoid clipping.
Wireless microphone setup
- Turn on the mic and receiver. Pair if needed.
- Connect the receiver to the computer by USB or to the interface via line input.
- Select the receiver or interface as the input device in settings.
- Test the range and sound before recording.
Wireless mics are great on stage. I always test signal strength and battery life before an event.

Source: wikihow.com
Configure settings on Windows and Mac
After connecting hardware, set up the system so apps use your mic.
Windows steps:
- Open Settings > System > Sound.
- Choose your mic under Input and set the input volume.
- Click Device Properties to adjust levels and test.
Mac steps:
- Open System Settings > Sound > Input.
- Select your microphone and adjust the input level.
- Test with QuickTime or your recording app.
Also, do this inside your app. Many apps have their own audio device settings. Select the mic there, too. I once had the system set right, but the app on the wrong input, so tests always fail. Double-check both.
Source: youtube.com
Troubleshooting common issues
If the mic does not work, try these fixes. They cover most problems when you learn how to connect a microphone to a computer.
No audio detected
- Check cables and ports. Try a different USB port or cable.
- Ensure device drivers are installed.
Low volume or quiet sound
- Raise the gain on the interface or mic level in settings.
- Check phantom power for condensers.
Noise, hiss, or static
- Use a balanced XLR cable and a good interface.
- Move away from routers, USB hubs, and other noisy gear.
Echo or feedback
- Use headphones instead of speakers when recording.
- Lower mic sensitivity or move the mic further from the speakers.
The app cannot access the mic
- Check privacy settings on Windows or Mac to allow app access.
- Restart the app after granting permission.
If nothing helps, try the mic on another computer to isolate hardware issues. I once spent hours on settings only to find a faulty cable. Swap one part at a time to find the culprit.
Source: rode.com
Tips, best practices, and real-life lessons
These tips come from years of hands-on work with voice and music recording. They make connecting and using a mic smoother.
- Use a direct USB port instead of a hub for stable power and data.
- For XLR setups, label cables to avoid swaps during live shows.
- Monitor with closed-back headphones to hear real-time audio.
- Keep drivers current, but test before major events after updates.
- Record a short test clip before important sessions.
My early setups missed a crowd noise filter. Now I treat room sound as part of the setup and use simple foam or a reflection filter when needed. Small changes in placement often beat heavy post-processing.

Source: youtube.com
Frequently Asked Questions of how to connect a microphone to a computer
How do I make my computer recognize a new microphone?
Open system sound settings, pick the mic as the input device, and update or install drivers if needed.
Can I use a phone microphone on my computer?
Yes. Use a USB adapter or plug the phone mic into a USB audio interface or TRRS adapter and select it as the input device.
Do I need phantom power to connect a microphone to a computer?
Only if you use a condenser XLR microphone. Dynamic mics usually do not need phantom power.
Is USB or XLR better for audio quality?
XLR with a good interface typically gives higher quality and lower noise. USB mics are easier and still very good for many uses.
Why is my mic very quiet after connecting?
Check the gain on the interface, enable mic boost in settings if available, and ensure the correct input is selected in the app.
How do I stop background noise when I connect a microphone to a computer?
Use a directional mic, reduce room noise, lower gain, and apply a noise gate or filter in software.
Conclusion
You now have clear steps to connect a microphone to a computer, from USB plug-and-play to pro XLR setups. Test gear, pick the right connection, and check both system and app settings to get reliable sound. Try one setup, record a quick test, and adjust as you go. If you found this helpful, try your mic setup now, leave a comment with your mic type, or subscribe for more practical audio tips.