Connect your Epson via USB or Wi‑Fi and install the Epson driver or use Windows/Mac auto-detection.
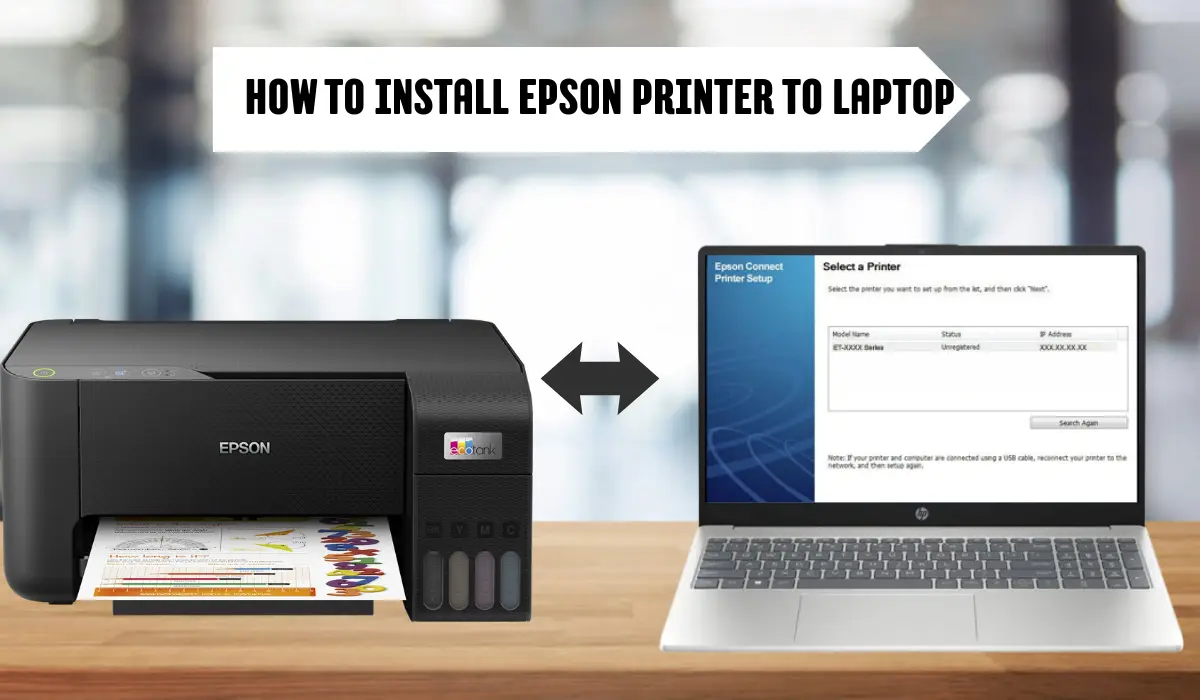
I’ve set up dozens of Epson printers for home and office laptops. This guide shows how to add Epson printer to laptop step by step. You will get clear, tested instructions for USB, wireless, Windows, and Mac setups. I’ll also share tips I learned the hard way and quick fixes for common problems.
What you need before you start
Prepare a few things first. This makes adding an Epson printer to a laptop fast and painless. Check your printer model, laptop OS version, and available cables or Wi‑Fi access.
- Confirm the printer model and serial number so you can get the right driver.
- For USB setup, have a good USB A-to-B cable or USB-C adapter if needed.
- For wireless setup, know the Wi‑Fi network name and password.
- Make sure your laptop has the latest OS updates installed.
- If possible, temporarily disable the strict firewall or VPN during setup.
I recommend downloading the latest Epson driver and Epson Connect/Print app ahead of time. That saved me many minutes when a printer needed updated software.

Source: youtube.com
Add an Epson printer to a laptop using a USB cable
USB adds a printer directly and often gives the quickest, most reliable connection. This method works well if you sit near the printer.
- Turn on the printer and your laptop.
- Connect the USB cable from the printer to the laptop.
- Wait; many systems detect the printer and install drivers automatically.
- If the automatic install fails, download the driver from Epson or use the CD that came with the printer.
- Open Printers & scanners (Windows) or Printers & Scanners (Mac) to confirm the printer appears.
- Print a test page to confirm the setup.
Common tip: Use a direct laptop-to-printer USB port. Avoid USB hubs during the initial install. In my experience, direct ports reduce driver conflicts.

Source: epson.com
Add an Epson printer to a laptop over Wi‑Fi (basic method)
Wireless lets you print from anywhere in range. This method suits shared homes or small office networks.
- Turn on the printer and its Wi‑Fi. Many Epson models have a Wi‑Fi button or a touchscreen menu.
- Use the printer menu to find and join your Wi‑Fi network. Enter the password carefully.
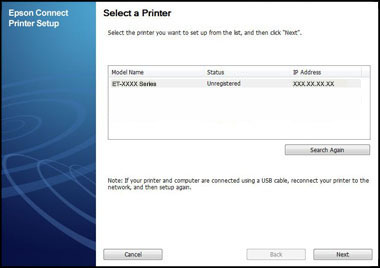
- On the laptop, open Settings and choose Add printer or Add device.
- Select the Epson printer from the list. If prompted, install the driver.
- Print a network test page or run a network status report from the printer menu.
If your printer lacks a display, use WPS or the Epson Connect mobile app to configure Wi‑Fi. I once used WPS on a router to link an older Epson printer in under two minutes.

Source: youtube.com
How to add Epson printer to laptop on Windows (detailed)
Windows has built-in tools that make adding printers simple. Follow these steps if your laptop runs Windows 10 or 11.
- Open Settings > Bluetooth & devices > Printers & scanners.
- Click Add device, Add a printer or scanner.
- Wait while Windows searches. Select your Epson printer when it appears.
- If not found, choose The printer that I want isn’t listed. Then:
- Select Add a local printer or network printer with manual settings.
- Or use Add a printer using a TCP/IP address for manual IP entry.
- Install the Epson driver if Windows asks. Use the downloaded driver if needed.
- Set the printer as the default if you print often from this laptop.
Extra step: for network printers, check the printer’s IP in its menu and ping it from the laptop to confirm network visibility. I once had to assign a static IP to keep a shared Epson stable on a busy office Wi‑Fi.

Source: co.uk
How to add Epson printer to laptop on Mac (detailed)
Macs automatically find many Epson printers. Use these steps for macOS.
- Open System Settings or System Preferences and select Printers & Scanners.
- Click the + button to add a printer.
- Choose your Epson printer from the list. Use IP if it’s a network printer and won’t appear.
- macOS may download a driver automatically. If not, install the driver you downloaded from Epson.
- Run a test print to confirm settings and paper alignment.
Tip: Use AirPrint if your Epson supports it. AirPrint requires no extra driver and often works immediately.

Source: youtube.com
Troubleshooting common issues when adding an Epson printer to a laptop
Problems can happen. Here are frequent issues and quick fixes.
- Printer not found on Wi‑Fi
- Make sure the printer and laptop are on the same network band (2.4GHz vs 5GHz).
- Restart the router, printer, and laptop.
- The driver fails to install
- Download the exact driver for your model and OS version.
- Run the installer as administrator on Windows.
- Print jobs stuck in the queue
- Cancel all jobs, restart the print spooler (Windows), or reboot the Mac.
- USB not recognized
- Try a different USB cable or port. Avoid hubs during setup.
- Slow or failed prints after setup
- Check firmware updates for the printer and update drivers.
When I set up a printer that kept dropping from Wi‑Fi, assigning it a static IP in the router solved it. Small changes like this often fix recurring problems.
Source: tenaui.com
Tips and best practices
Follow these to keep printing smoothly and reliably.
- Keep drivers and firmware updated. They fix bugs and add features.
- Use manufacturer drivers over generic drivers for full functionality.
- Register for Epson Connect if you want mobile printing and cloud features.
- Back up Wi‑Fi and printer settings after setup for quick recovery.
- Place the printer near a strong Wi‑Fi signal. Walls and distance reduce range.
A lesson I learned: test printing from multiple apps after setup. Some programs use different printer settings and reveal issues you won’t see from a simple test page.
Source: youtube.com
Frequently Asked Questions on how to add epson printer to laptop
How long does it take to add an Epson printer to a laptop?
Typically, setup takes 5–20 minutes. Time depends on connection type, driver downloads, and any troubleshooting.
Do I need a driver to add an Epson printer to my laptop?
Yes. Most Epson printers need a driver for full features. Windows and macOS sometimes supply a basic driver automatically.
Can I add an Epson printer to a laptop without Wi‑Fi?
Yes. Use a USB cable for a direct connection or connect via Ethernet for a wired network setup.
What if my laptop can’t find the Epson printer on the network?
Ensure both devices are on the same network band and check the printer Wi‑Fi settings. Restart devices and confirm router settings allow device discovery.
Is Epson Connect required to print from my laptop?
No. Epson Connect is optional and helpful for cloud and mobile printing. Local printing works without it.
Conclusion
You now have clear, practical ways to add an Epson printer to a laptop for USB, wireless, Windows, and Mac setups. Start by checking requirements, choosing the right method, and installing the correct driver. If something fails, use the troubleshooting steps and tips provided here. Try the steps now, and if you hit a snag, revisit the troubleshooting section or leave a comment about your exact model and issue.