Plug in the doorbell, open the vendor app, choose your home network, and enter the Wi‑Fi password.
I’ve set up more than a dozen doorbell cameras for clients and friends. This guide explains how to connect doorbell camera to wifi clearly and simply. You’ll get step‑by‑step setup, real troubleshooting tips, security best practices, and things I learned the hard way. Read on to get your camera online, stable, and secure.
Why connecting your doorbell camera to Wi‑Fi matters
A doorbell camera needs Wi‑Fi to send live video, alerts, and cloud clips. Without a strong connection, footage drops out, and alerts come late.
Connecting your device correctly makes night vision, two‑way talk, and motion alerts work. This section explains why reliable Wi‑Fi is the backbone of any smart doorbell and how to connect doorbell camera to wifi for consistent performance.
Prepare before you start
Set up is easier when you check a few things first.
- Confirm your doorbell model supports Wi‑Fi and which bands it uses (many need 2.4 GHz).
- Have your home Wi‑Fi name (SSID) and password handy.
- Ensure your phone is charged, and you can install the vendor app.
- Check whether the doorbell is battery powered or wired; wired models may need the chime transformer.
- Measure signal strength where the doorbell will mount. A phone Wi‑Fi scan app helps.
- Update your router firmware if it hasn’t been updated in months.
- Note any password rules (special characters, length) that could block the connection.
These prep steps reduce surprises and speed up how to connect doorbell camera to wifi.

Source: youtube.com
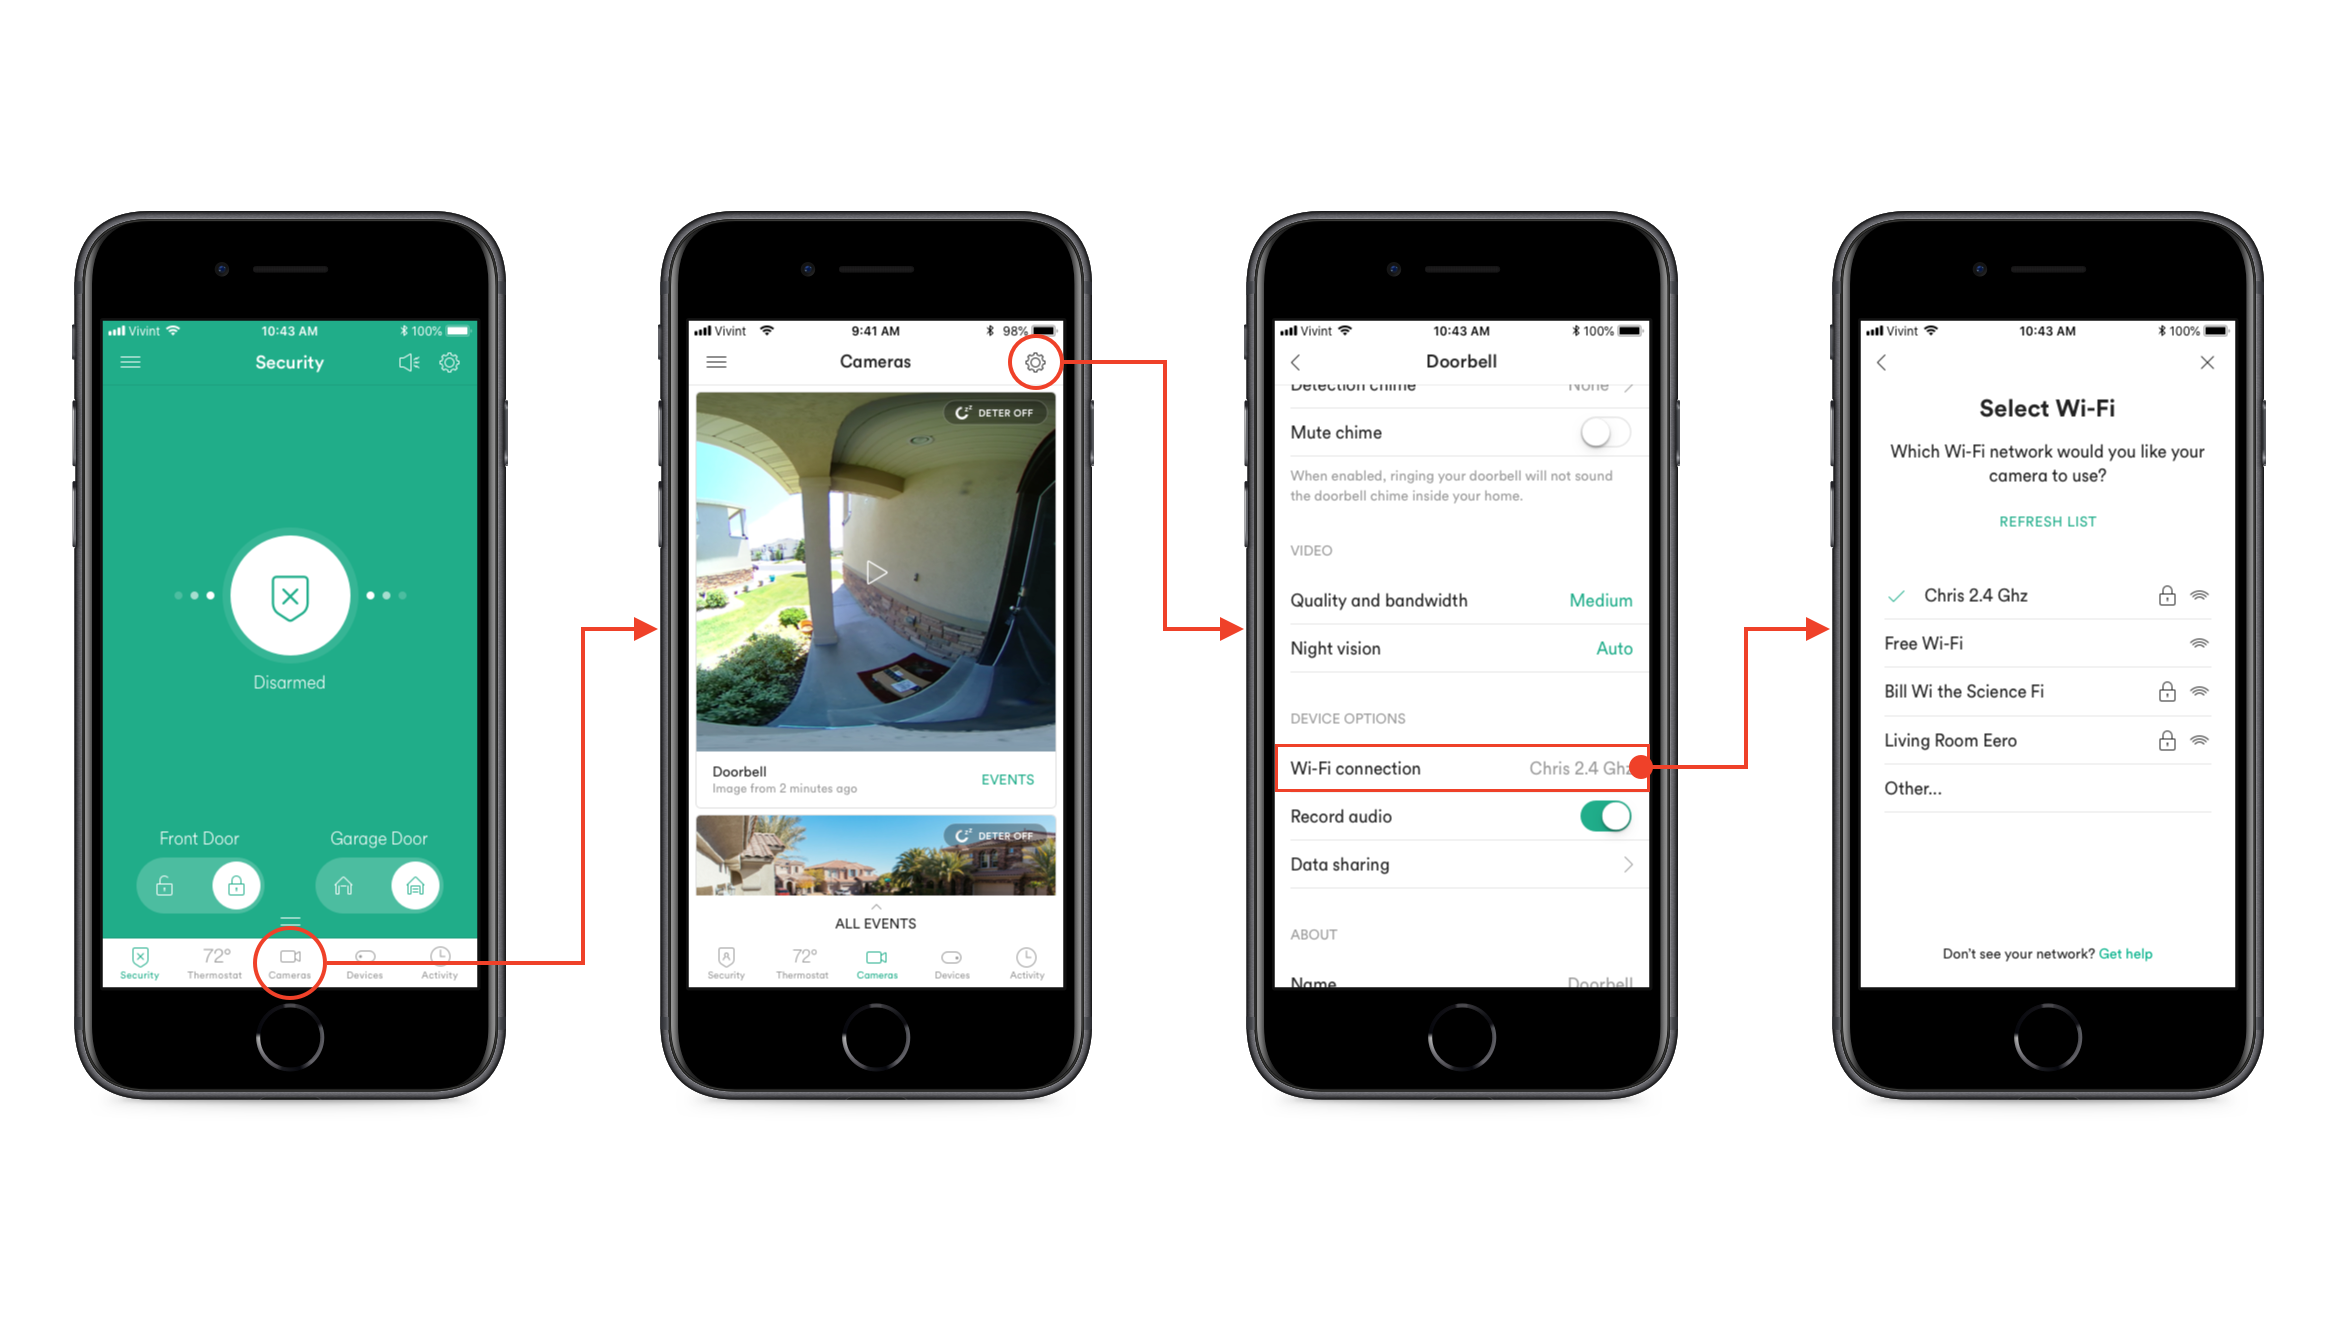
Step‑by‑step: How to connect doorbell camera to Wi‑Fi
Follow this routine for most brands. Read the quick start for model specifics, but this covers the essentials.
- Power the doorbell
- Install batteries or connect the wired unit to the transformer. Wait for the LED to show it’s ready.
- Install the app
- Download the maker’s app on your phone and create an account if required.
- Start device setup
- Open the app and choose Add Device or Set Up New Doorbell. Grant location and camera access when prompted.
- Put the doorbell in pairing mode
- Press the setup button or follow the app’s prompts until the light blinks or you hear an audio cue.
- Choose your Wi‑Fi network
- The app will list networks. Select your home SSID. Many doorbells only show 2.4 GHz networks.
- Enter the password
- Type the Wi‑Fi password carefully. Watch for case sensitivity and special character issues.
- Wait for confirmation
- The device will connect and often play a chime or show a checkmark in the app when done.
- Test live video and audio
- Open live view. Speak through the doorbell and confirm the video is smooth.
- Update firmware
- Allow any firmware updates to install. This improves reliability and security.
- Mount in place
- Finalize placement and tighten screws. Test again after final mounting.
If the app asks for camera permissions or notifications, enable them so alerts arrive. These steps show how to connect doorbell camera to wifi for a reliable setup.

Source: nightowlsp.com
Troubleshooting common problems when connecting a doorbell camera to Wi‑Fi
Here are quick fixes for the usual issues.
- Weak signal or drops
- Move the router closer, add an extender, or use a mesh node near the doorbell.
- The device won’t find a network
- Ensure the router broadcasts the SSID and 2.4 GHz is enabled.
- Incorrect password error
- Re‑enter the password. If it still fails, try changing the Wi‑Fi password temporarily to a simple test password.
- App says “device offline.”
- Reboot the doorbell by removing power or using the reset pin. Restart your router, too.
- AP isolation or guest network blocks
- Make sure AP isolation is off. Avoid setting the doorbell on a guest network that blocks device communication.
Can I use a 5 GHz network with my doorbell camera?
Most doorbell cameras need 2.4 GHz because it offers a longer range and better wall penetration. Check your manual to see if 5 GHz is supported.
What if the app asks me to connect to a temporary Wi‑Fi from the doorbell?
That temporary network helps the phone send credentials. Connect briefly as instructed by the app, then return to your home Wi‑Fi when prompted.
Why does my doorbell drop video at night?
Night drops usually mean low signal or low power. Check signal strength and ensure you have a stable power source or fresh batteries.
These quick answers help when you’re stuck on how to connect doorbell camera to wifi.

Source: youtube.com
Security and privacy tips after you connect
Protecting your doorbell camera keeps your home and data safe.
- Use a strong, unique Wi‑Fi password and change router defaults.
- Enable WPA2 or WPA3 encryption on your router.
- Use two‑factor authentication for the vendor app when available.
- Keep camera firmware and app updated to patch vulnerabilities.
- Put the camera on a separate IoT guest network if your router supports it.
- Limit recording/storage to what you need and review privacy settings often.
- Disable unused features like voice assistant integration if you don’t use them.
Applying these controls reduces the risk of hacks and misuse after you learn how to connect doorbell camera to wifi.

Source: amazon.com
Best practices for placement and network performance
Small placement choices change reliability a lot.
- Mount at a moderate height to avoid glare and maximize face capture.
- Avoid pointing through glass or near reflective surfaces.
- Keep the camera away from large metal objects and dense concrete walls.
- Place a mesh node or extender within 15–25 feet of the doorbell if the signal is weak.
- Set the router channel to a less congested one using a Wi‑Fi analyzer.
- Prioritize the camera with QoS if your router supports device priority.
These tips improve signal and video quality once you connect the doorbell camera to wifi.
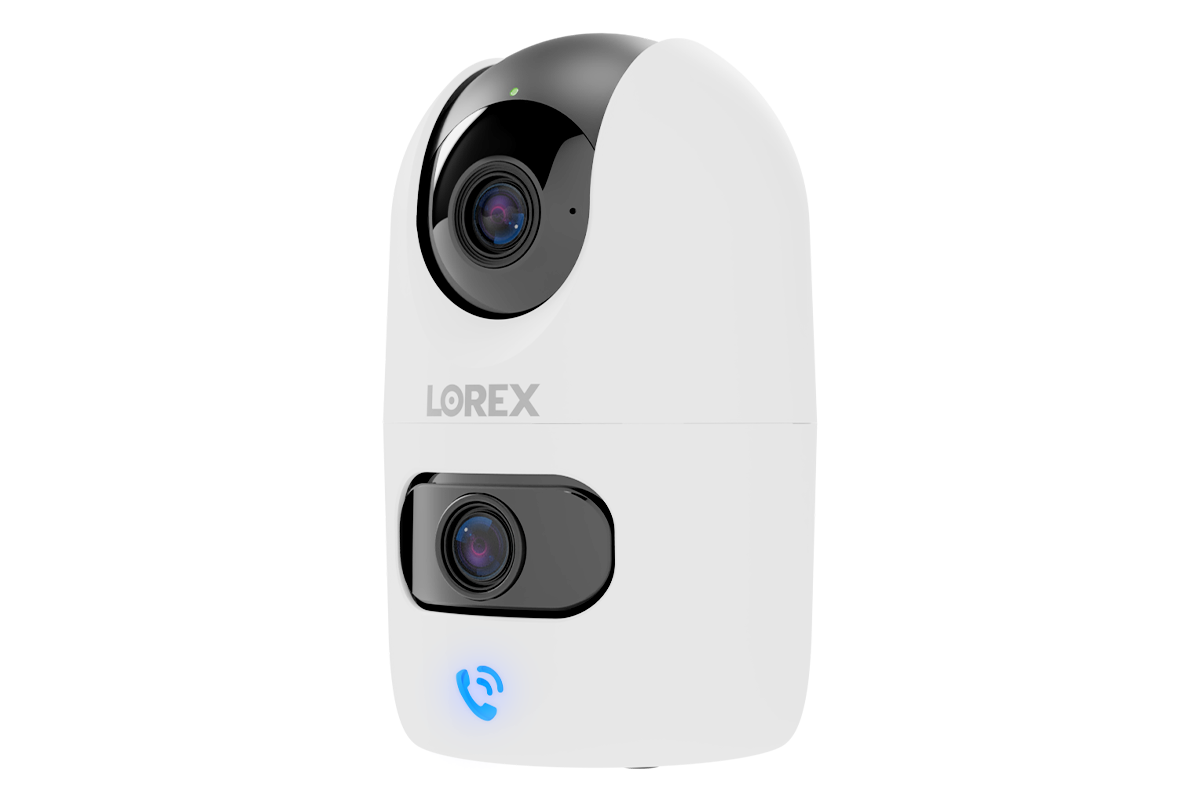
Source: lorex.com
Personal experience and lessons learned
I set up a neighbor’s doorbell in an older house with thick plaster walls. The device kept dropping off. I tried power cycling, then placed a small mesh node near the front door. That fixed it instantly. Lesson learned: signal beats fancy features every time.
Common mistakes I’ve seen:
- Trying to use a hidden SSID during setup — the app can’t see it.
- Using the guest network — guest rules often block device-to-app connections.
- Skipping firmware updates — updates fixed my two‑way audio lag.
If you test and adjust step by step, you’ll master how to connect doorbell camera to wifi faster than you expect.

Source: amazon.com
Frequently Asked Questions of how to connect doorbell camera to wifi
How do I tell if my doorbell camera needs 2.4 GHz?
Most setup guides or the product label say which band it needs. If unsure, assume 2.4 GHz is required and try that first.
My phone won’t complete the setup. What next?
Restart the phone, close the app, and try again. If it still fails, reboot the router and doorbell, then retry the app setup.
Will a mesh Wi‑Fi system help my doorbell camera?
Yes. Mesh systems add nodes that create strong coverage near the camera and reduce drops compared to one distant router.
Do I need the chime connector for a wired doorbell?
Often yes. Wired smart doorbells need the chime connector or transformer to get the correct voltage for operation.
Can multiple people access the doorbell feed?
Most apps allow shared access via app invitations. Limit sharing to trusted people and use unique accounts if possible.
Conclusion
Connecting a doorbell camera to Wi‑Fi is a short project with big benefits. Prepare by checking power and band compatibility, follow the app setup steps, and use the troubleshooting and security tips above if things go wrong. Start small: set up the camera, test live view, then secure your network.
Take action today: pick the right band, update firmware, and mount your camera in a spot with a strong signal. Share your setup story or questions below to help others learn from your experience.