Most wireless security cameras need either batteries, a nearby AC outlet, solar panels, or PoE when supported.
I’ve installed and tested many home and small-business wireless cameras, so I know what works in real life. This guide explains how to power wireless security cameras clearly and fully. You will learn the main power options, how to pick the right method for your site, step-by-step setup tips, calculation examples, and practical tricks I learned on the job to save power and avoid headaches.

Why powering matters for wireless security cameras
Power choice affects uptime, recording quality, and maintenance. A wrong power option means dead cameras, missed events, and constant battery swapping. Wireless refers to a data connection, not always power. Some cameras send video over Wi-Fi but still need a wired power source.
Good power planning keeps cameras online and reduces false alarms. It also lowers long-term costs and improves reliability for night vision and continuous recording. Think of power as the camera’s fuel tank—get the tank size and fuel type right.
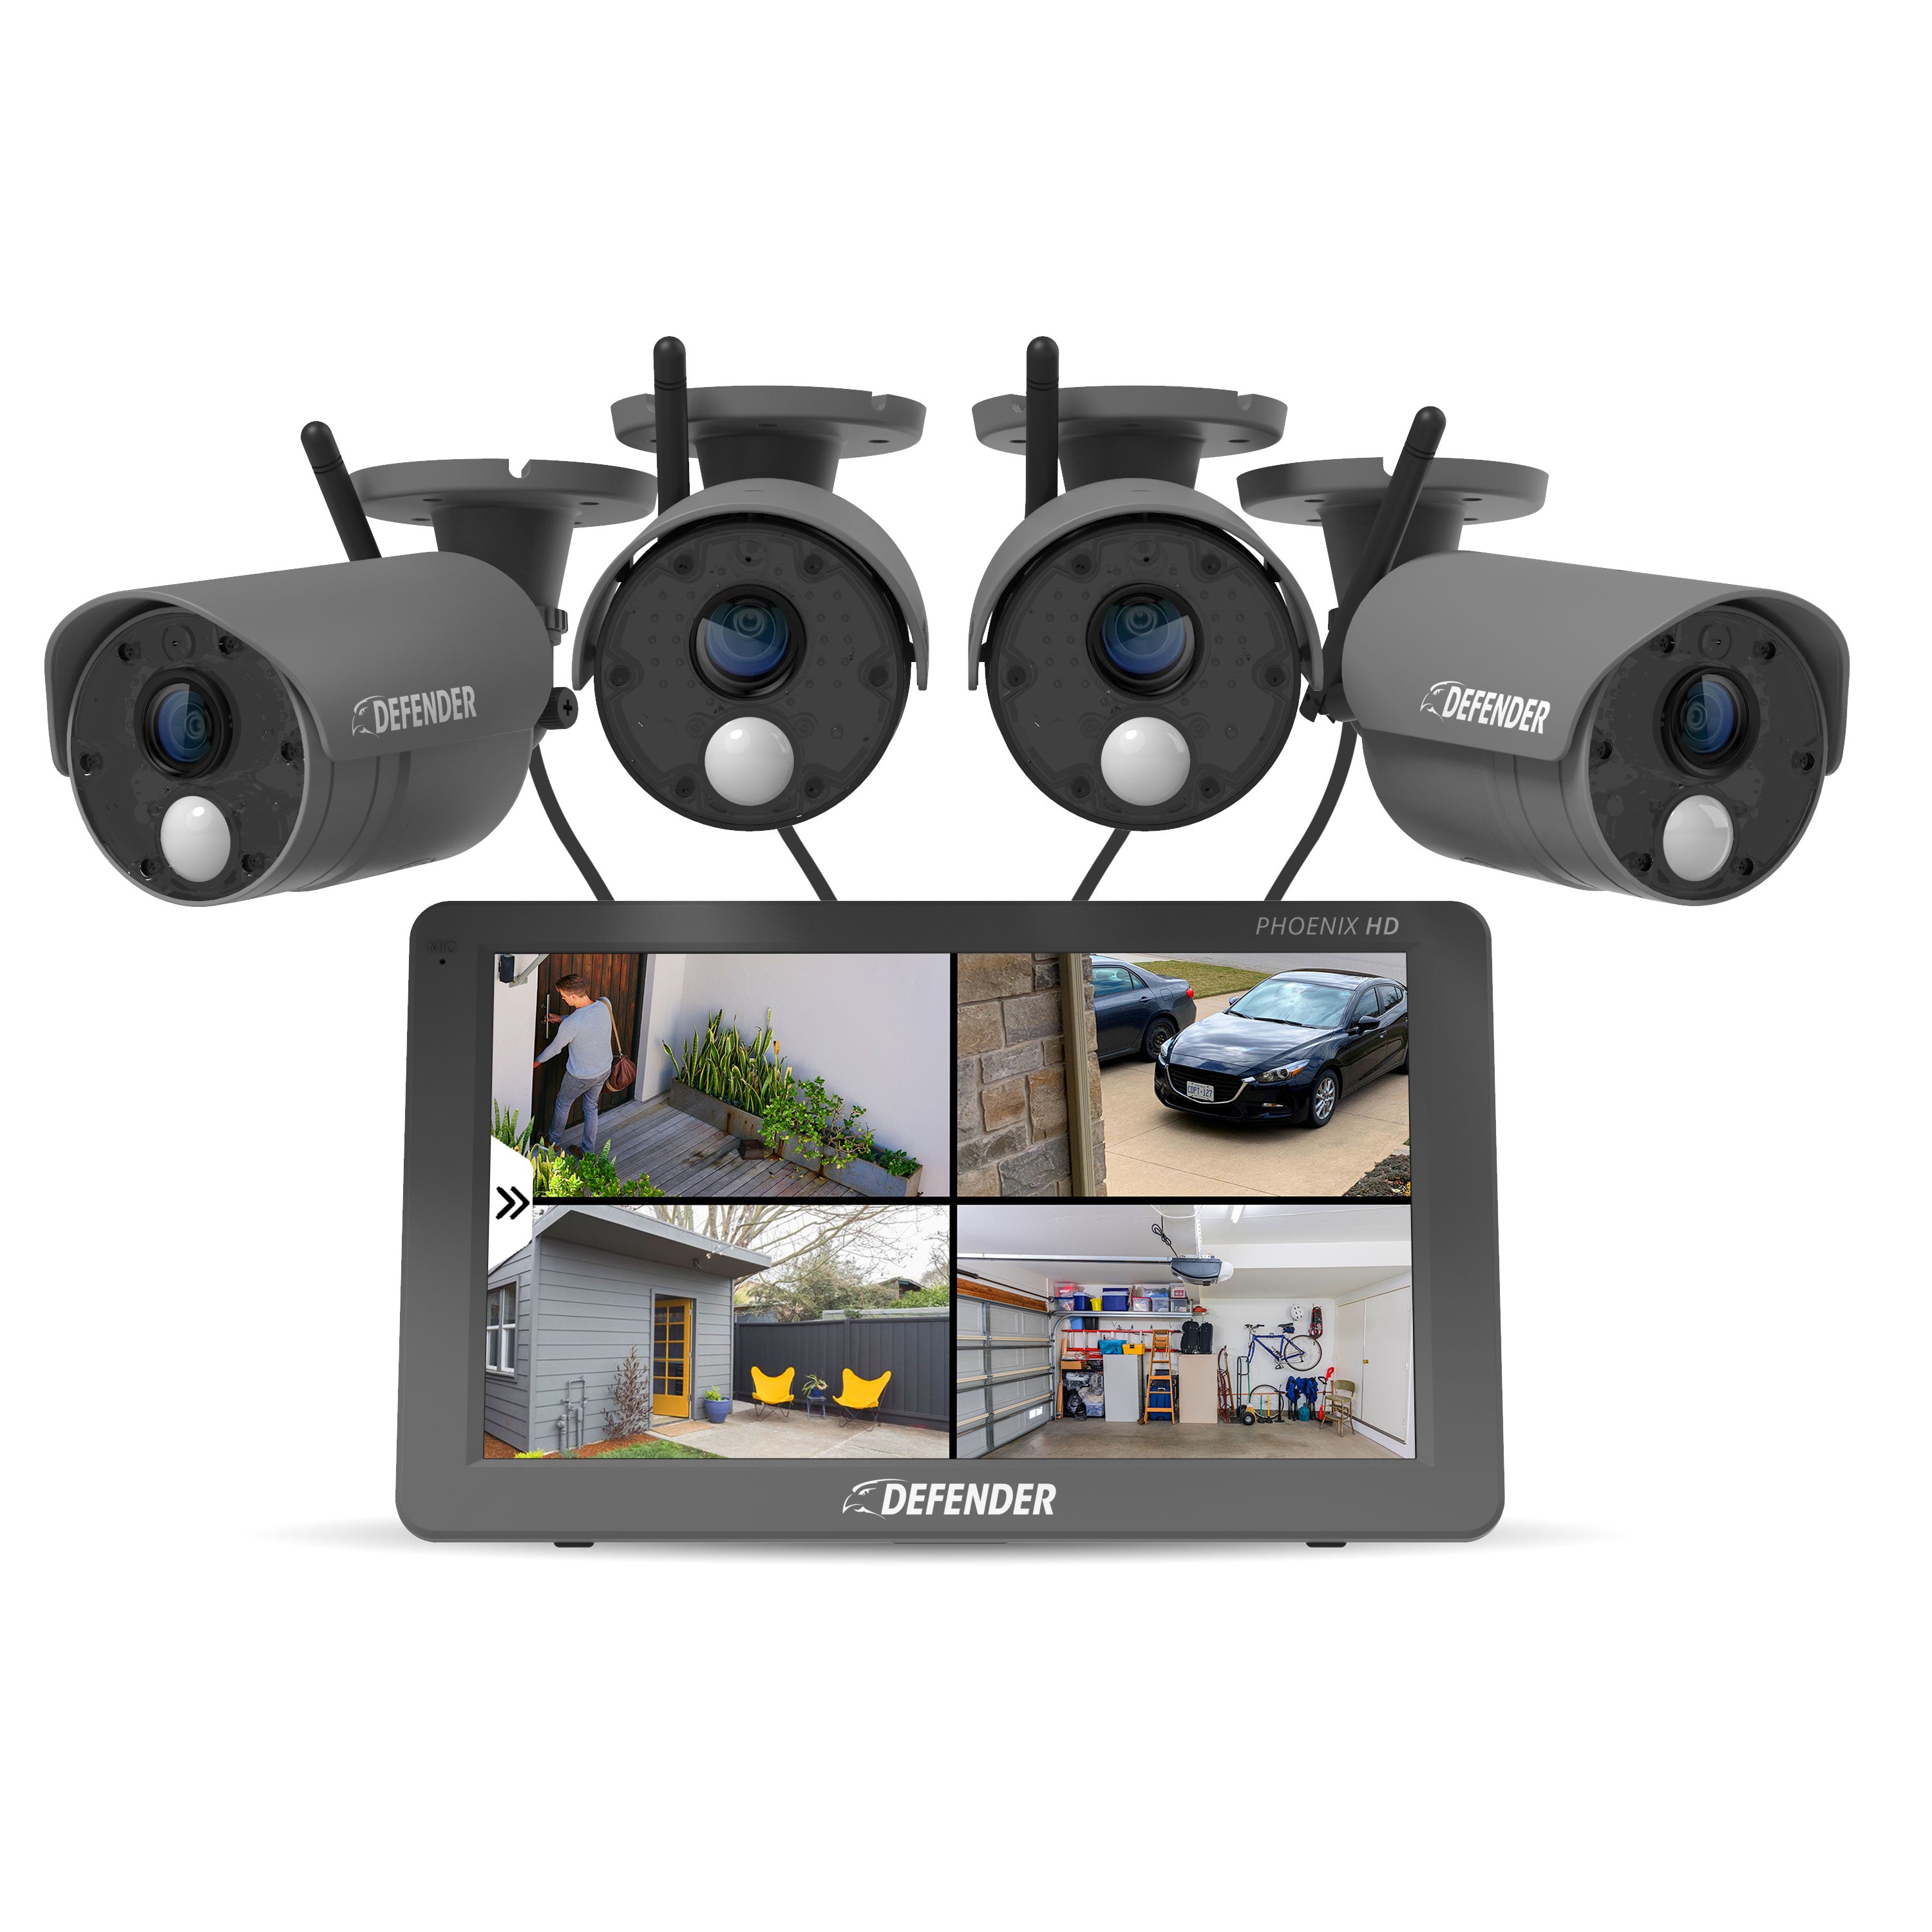
Source: defendercameras.com
Common power methods for wireless security cameras
Below are the main ways to power wireless security cameras, with pros and cons for each.
Battery-powered cameras
- Description: Built-in rechargeable or replaceable batteries. Ideal for remote spots.
- Pros: Easy install, no wires, flexible placement.
- Cons: Limited runtime, needs recharging or swapping, may struggle in cold weather.
AC adapter (plug-in)
- Description: Camera runs from a local outlet via a power adapter.
- Pros: Continuous power, low maintenance, good for high-recording use.
- Cons: Requires a nearby outlet or conduit, visible cables unless concealed.
Solar power
- Description: Solar panel + charge controller + battery pack feeding the camera.
- Pros: Off-grid, long-term autonomy, ideal for remote or outdoor spots.
- Cons: Higher upfront cost, needs proper sizing and sun exposure, and extra hardware.
Power over Ethernet (PoE)
- Description: An Ethernet cable carries data and power together. Some “wireless” cameras support PoE for power while using Wi-Fi for backup.
- Pros: Very reliable, central power management, and long cable runs.
- Cons: Only for PoE-capable units; requires a PoE switch or injector and possibly a mounted access point.
USB or external battery packs
- Description: Use USB power banks or portable battery packs that output 5–12V.
- Pros: Low cost, easy to swap, portable.
- Cons: Short runtime for continuous recording, not weatherproof unless enclosed.
Hardwired DC connection
- Description: Low-voltage DC runs from a transformer or central power supply.
- Pros: Steady power, scalable for multiple cameras.
- Cons: Needs professional wiring for long runs and outdoor protection.
I’ve used battery cams on cabins and solar kits for birdwatching cameras. For a front-door camera, I hardwired it to a nearby outlet. Each job taught me to balance runtime, safety, and cost.

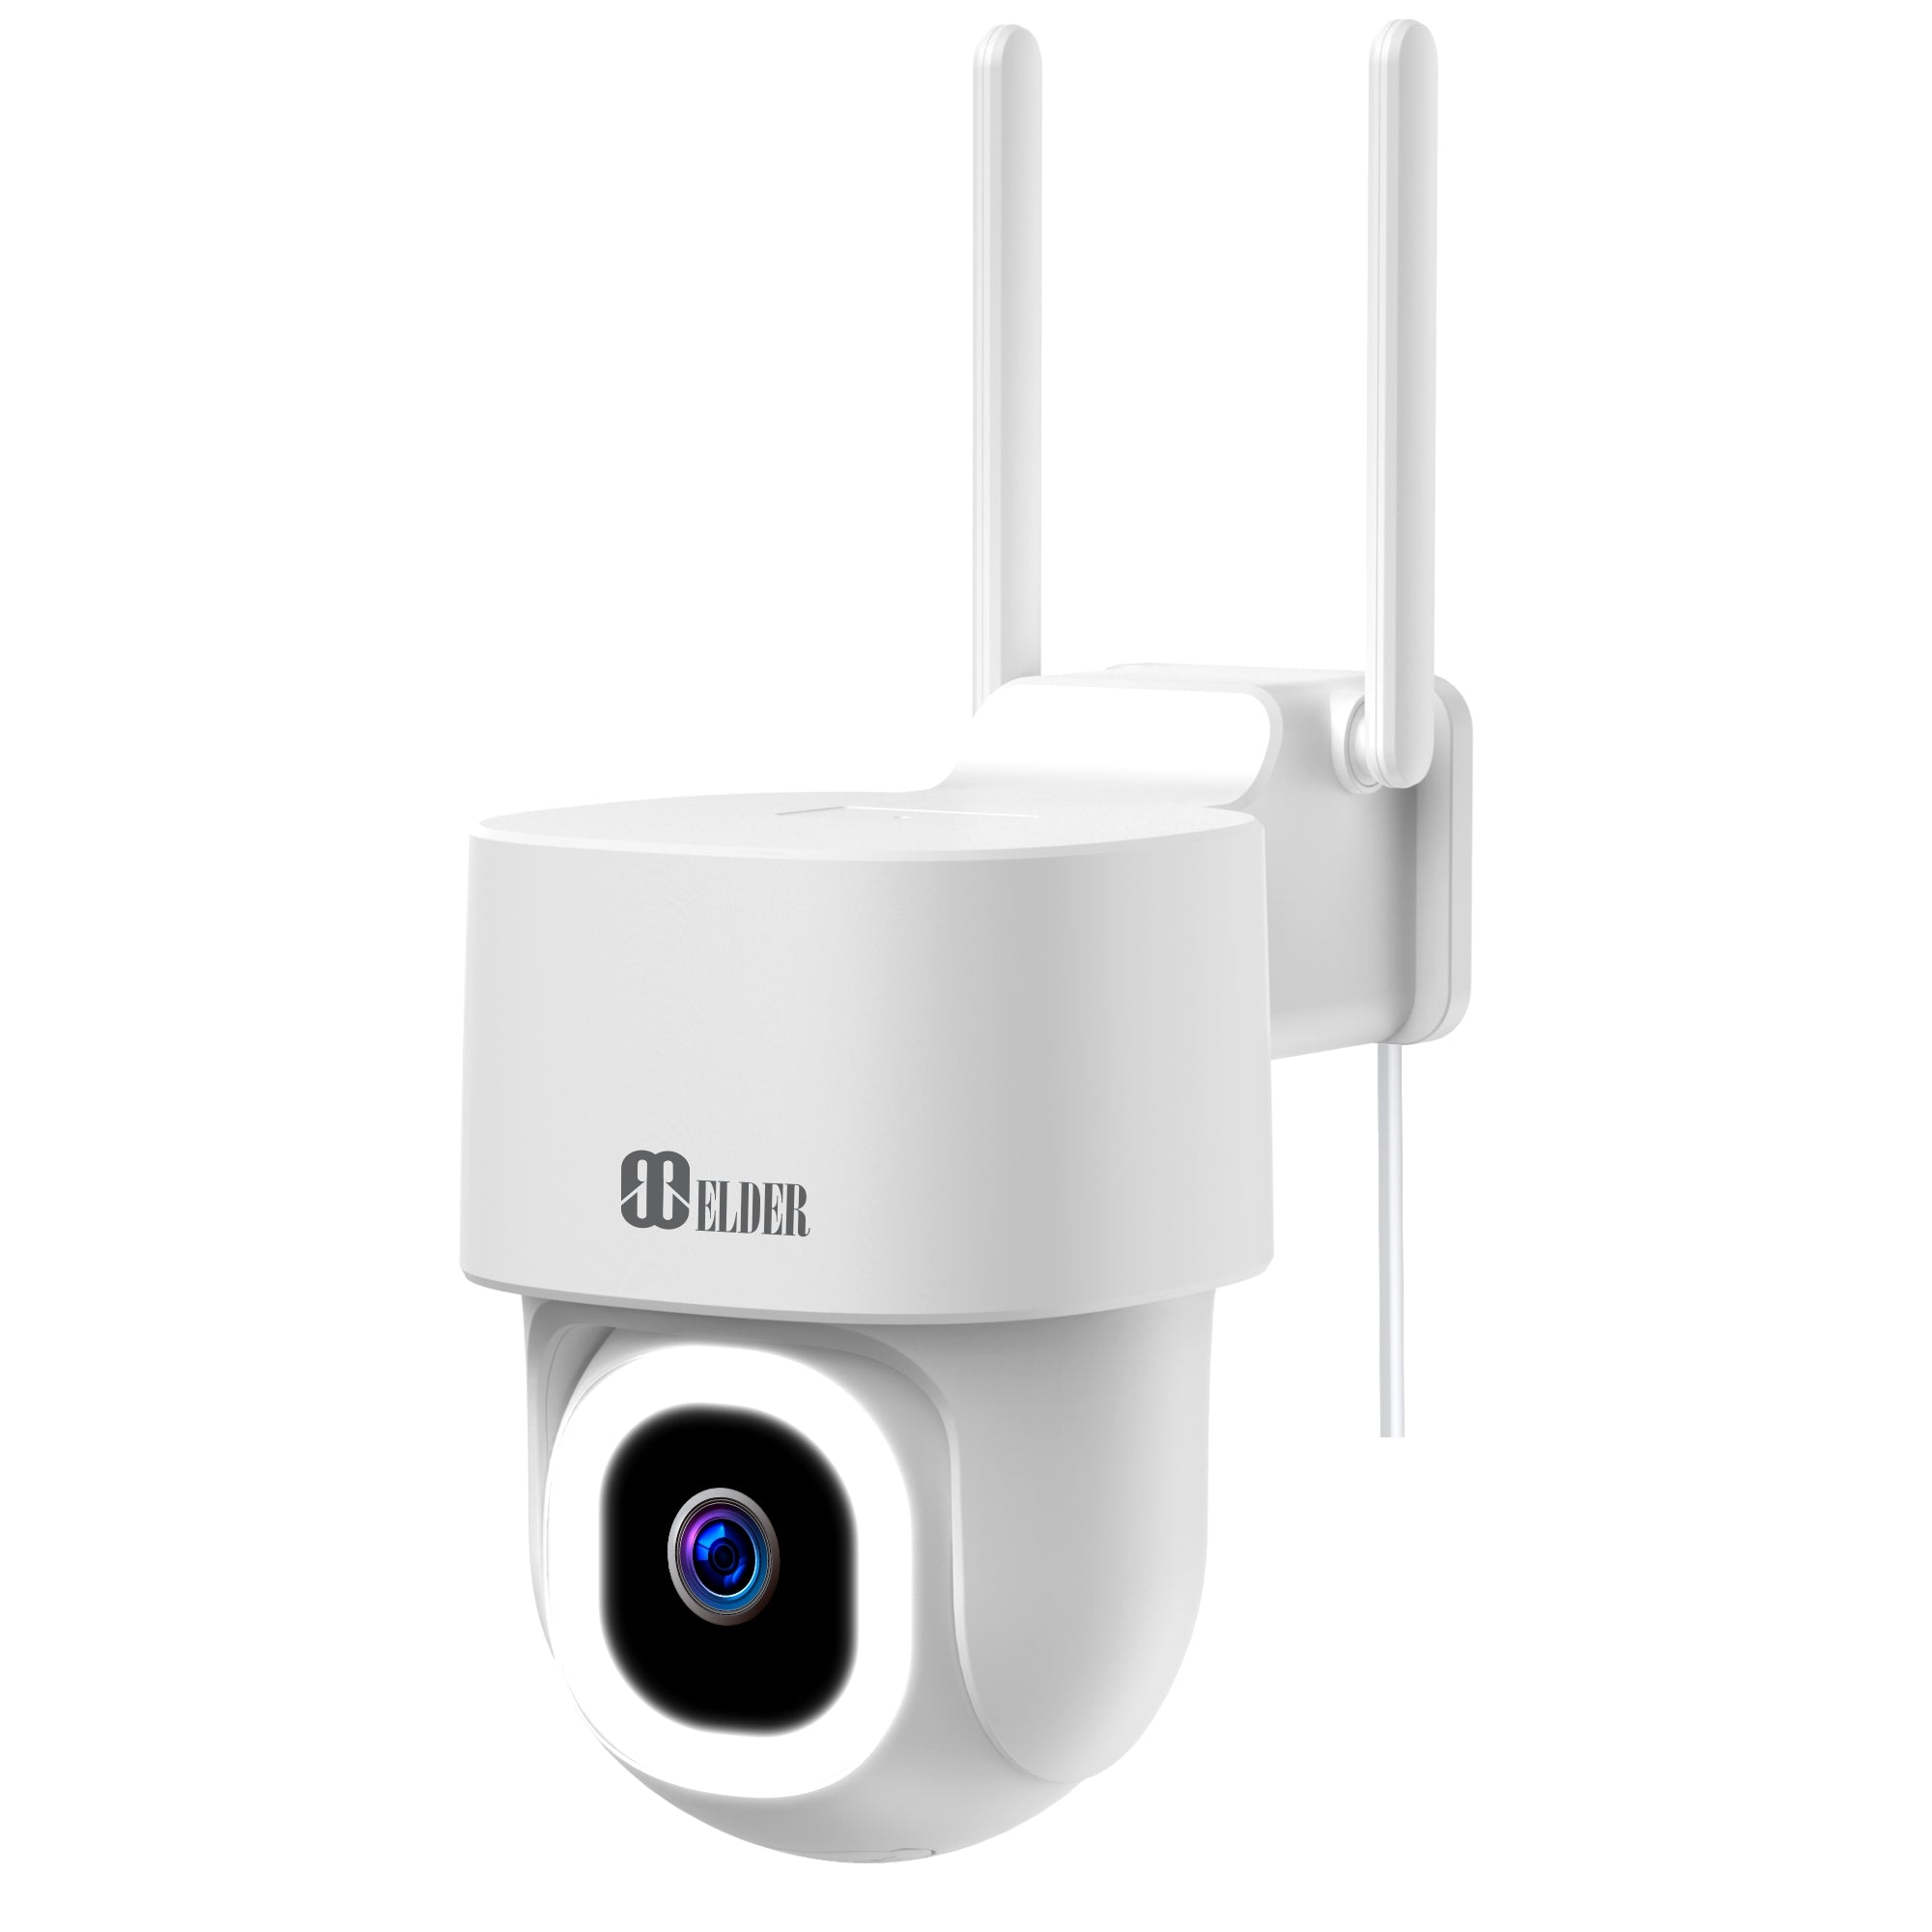
Source: camius.com
How to choose the right power method
Consider five simple factors to choose how to power wireless security cameras.
Placement
- Indoor near outlets: plug-in is best.
- Outdoor or remote: battery or solar is often best.
Run-time needs
- Continuous recording: choose AC, PoE, or a large battery bank.
- Motion-only recording: a battery can be enough.
Weather and environment
- Cold drains batteries faster; choose winter-rated batteries or mains power.
- Sunlight and shading affect solar viability.
Maintenance tolerance
- Want low upkeep: choose wired solutions.
- OK with periodic swaps: battery systems are fine.
Budget and installation skill
- DIY-friendly: battery and plug-in options.
- Professional install: PoE and hardwired DC deliver more reliability.
Quick power calculation example
- Find camera power draw: e.g., 5 watts.
- Convert battery to watt-hours: if the battery is 10,000 mAh at 3.7V, then Wh = (10,000/1000) * 3.7 = 37 Wh.
- Runtime = battery Wh ÷ camera W = 37 Wh ÷ 5 W = 7.4 hours.
Use the formula to compare battery size vs camera draw. If you use higher voltage packs, convert correctly using the pack voltage.
Source: secomart.com
Step-by-step: powering different camera types
Battery camera: setup and best practices
- Charge the new battery fully before first use.
- Mount the camera where the signal is strong, but the sun or rain won’t hit the battery door.
- Use motion-only recording and smart alerts to save power.
- Rotate spare batteries or use a larger capacity pack for less downtime.
Plug-in (AC) camera: safe installation
- Confirm camera voltage and adapter specs.
- Install a weatherproof outdoor outlet or use an indoor outlet with a protected cable entry.
- Use a drip loop and weatherproof junction box for outdoor runs.
- Consider a GFCI outlet for outdoor safety.
Solar-powered camera: sizing and setup
- Determine average daily camera power use in Wh.
- Choose a solar panel that provides double the daily Wh for cloudy days.
- Add a battery buffer sized to cover 2–3 cloudy days.
- Use a charge controller matching the panel and battery types.
PoE camera: quick steps
- Confirm the camera supports PoE or has a PoE adapter.
- Run a Cat5e/Cat6 cable from a PoE switch or injector to the camera.
- If you need wireless data, place a bridge or access point near the camera and use PoE for power only if supported.
- Test power and link LEDs before final mount.
Personal tip: When I wired a weekend rental cabin, I ran a weatherproof conduit and used an outdoor-rated GFCI outlet. That combo gave reliable power with low maintenance.

Source: amazon.com
Tips to extend battery life and reliability
Small changes yield big gains. I cut battery swaps in half by following these steps.
- Lower video resolution and frame rate when full detail is not needed.
- Reduce pre- and post-event recording lengths.
- Enable motion zones to avoid recording constant motion like trees.
- Schedule camera sleep during low-risk hours.
- Keep firmware updated for power management improvements.
- Use higher-capacity batteries or external packs for colder climates.
- Test solar panels seasonally and clear debris.
I learned to balance sensitivity and false alerts. That step alone stretched battery life and made alerts more useful.
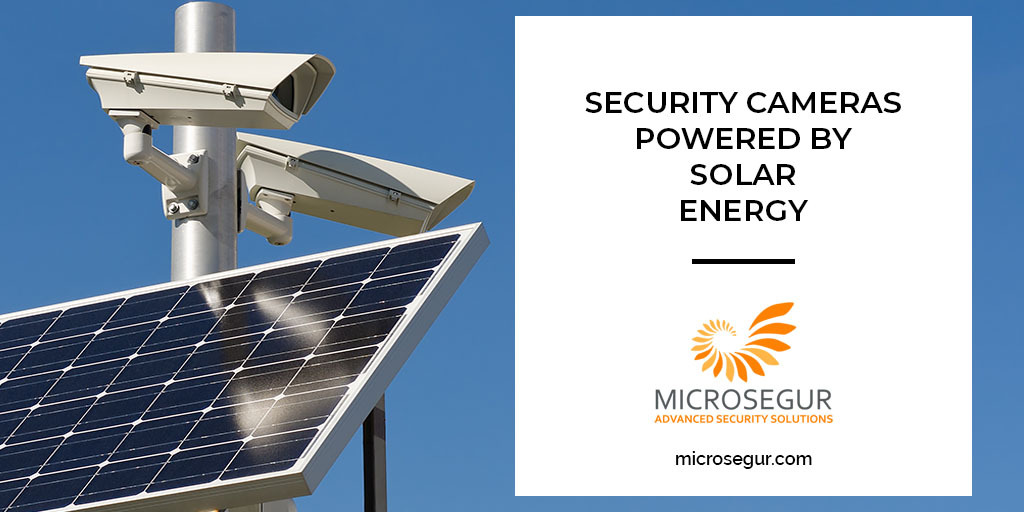
Source: microsegur.com
Safety, code, and maintenance
Follow safety rules to avoid hazards and liability.
- Use GFCI-protected outlets for all outdoor plug-in cameras.
- Match voltage and polarity exactly on DC connections.
- Weatherproof all outdoor connectors with rated enclosures and silicone where needed.
- Follow local electrical codes when installing permanent wiring.
- Check mounts, seals, and cables every 3–6 months. Replace damaged wiring immediately.
Routinely inspect batteries and connectors. A small corrosion or loose connection causes big outages.

Source: nightowlsp.com
Costs and return on investment
Compare typical upfront and ongoing costs for common power methods.
- Battery camera
- Upfront: low to medium for camera and spare batteries.
- Ongoing: battery replacements or electricity for recharging.
- Plug-in camera
- Upfront: low (camera + adapter).
- Ongoing: low electricity use and near-zero maintenance.
- Solar system
- Upfront: medium to high (panel, controller, battery).
- Ongoing: low after installation, good ROI in remote sites.
- PoE
- Upfront: medium (PoE switch, cabling).
- Ongoing: low maintenance; easy central management.
Choose the option that fits long-term needs. I often recommend wired power for business locations for reliability and lower hidden costs.

Source: brinkshome.com
Frequently Asked Questions of how to power wireless security cameras
How long will a battery-powered wireless security camera last on a charge?
Battery life depends on camera settings and battery capacity. Typical runtime ranges from a few days to several months; motion-only recording stretches life the most.
Can I use solar panels to power wireless security cameras year-round?
Yes, with proper sizing and a battery buffer, you can run cameras year-round. You must account for seasonal sun changes and add extra capacity for cloudy days.
Is PoE an option for wireless security cameras?
Some cameras accept PoE for power while using wireless data; others are strictly Wi-Fi and battery. Check the camera’s specs to confirm PoE support.
How do I calculate the battery size I need?
Find the camera’s watt draw, convert battery mAh to watt-hours, then divide battery Wh by camera watts. Add 20–50% margin for inefficiencies and weather.
Are there safety rules for outdoor power for cameras?
Yes. Use GFCI outlets, weatherproof enclosures, and follow local electrical codes. If unsure, hire a licensed electrician.
Conclusion
Choosing how to power wireless security cameras is a practical decision. Match your site needs to battery, plug-in, solar, or PoE solutions. Use the runtime formula, pick the right hardware, and follow safety rules. Start by mapping camera locations, estimating power draw, and deciding how much maintenance you want. Try one method on a test camera first, then scale up. Share your setup or questions below and subscribe for more practical home security tips.